QSFP Fiber Optic Connection

Finger Lakes Instrumentation
200 Tech Park Drive
Rochester NY 14623 USA
200 Tech Park Drive
Rochester NY 14623 USA
Phone: 585-624-3760
Email: sales@flicamera.com
Web: https://flicamera.com
Email: sales@flicamera.com
Web: https://flicamera.com
©2024 Finger Lakes Instrumentation
FLI offers the ability to connect a FLI camera to a desktop computer via a fiber optic connection. The fiber optic connection on the rear of each FLI camera has the ability to connect to the FLI PCIe fiber optic card.
The use of this PCIe card in the users computer replaces the need for a USB 3 connection, allowing for significantly longer connections, and a faster response time. With many cameras, there will be impressive FPS gains when using a fiber optic connection due to the removal of the bottleneck of data through USB 3.
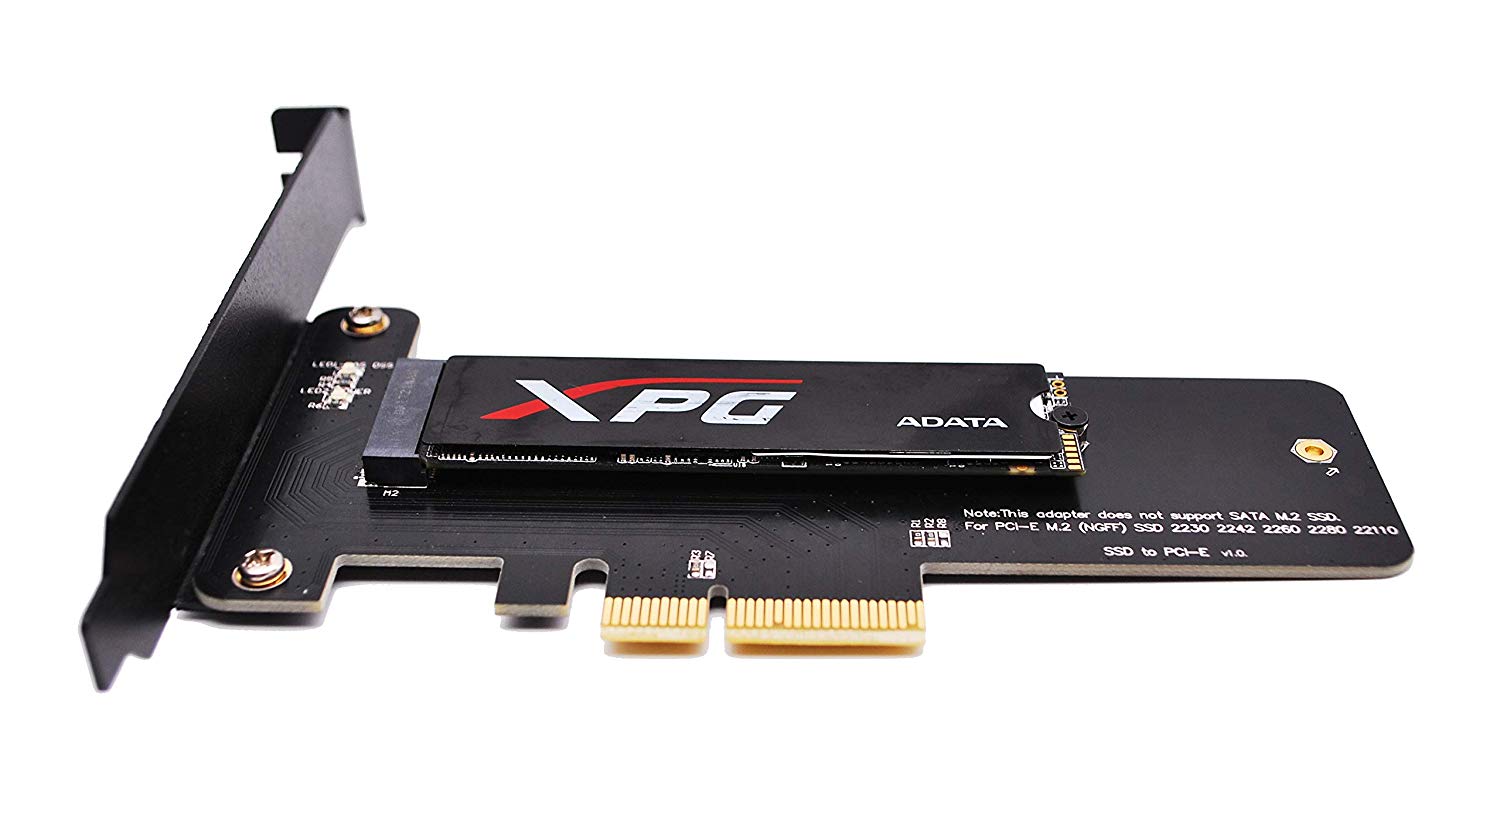
This setup requires M.2 memory because of the significant amount of data being transferred. Typical SSD memory with a SATA connection does not provide the required bandwidth to use the QSFP connection to the full extent of its ability. If a M.2 connection is not included on the motherboard of the computer, a PCIe to M.2 adapter card is required. Additionally, this will use a second PCIe port.
Grab Menu with a QSFP Connection
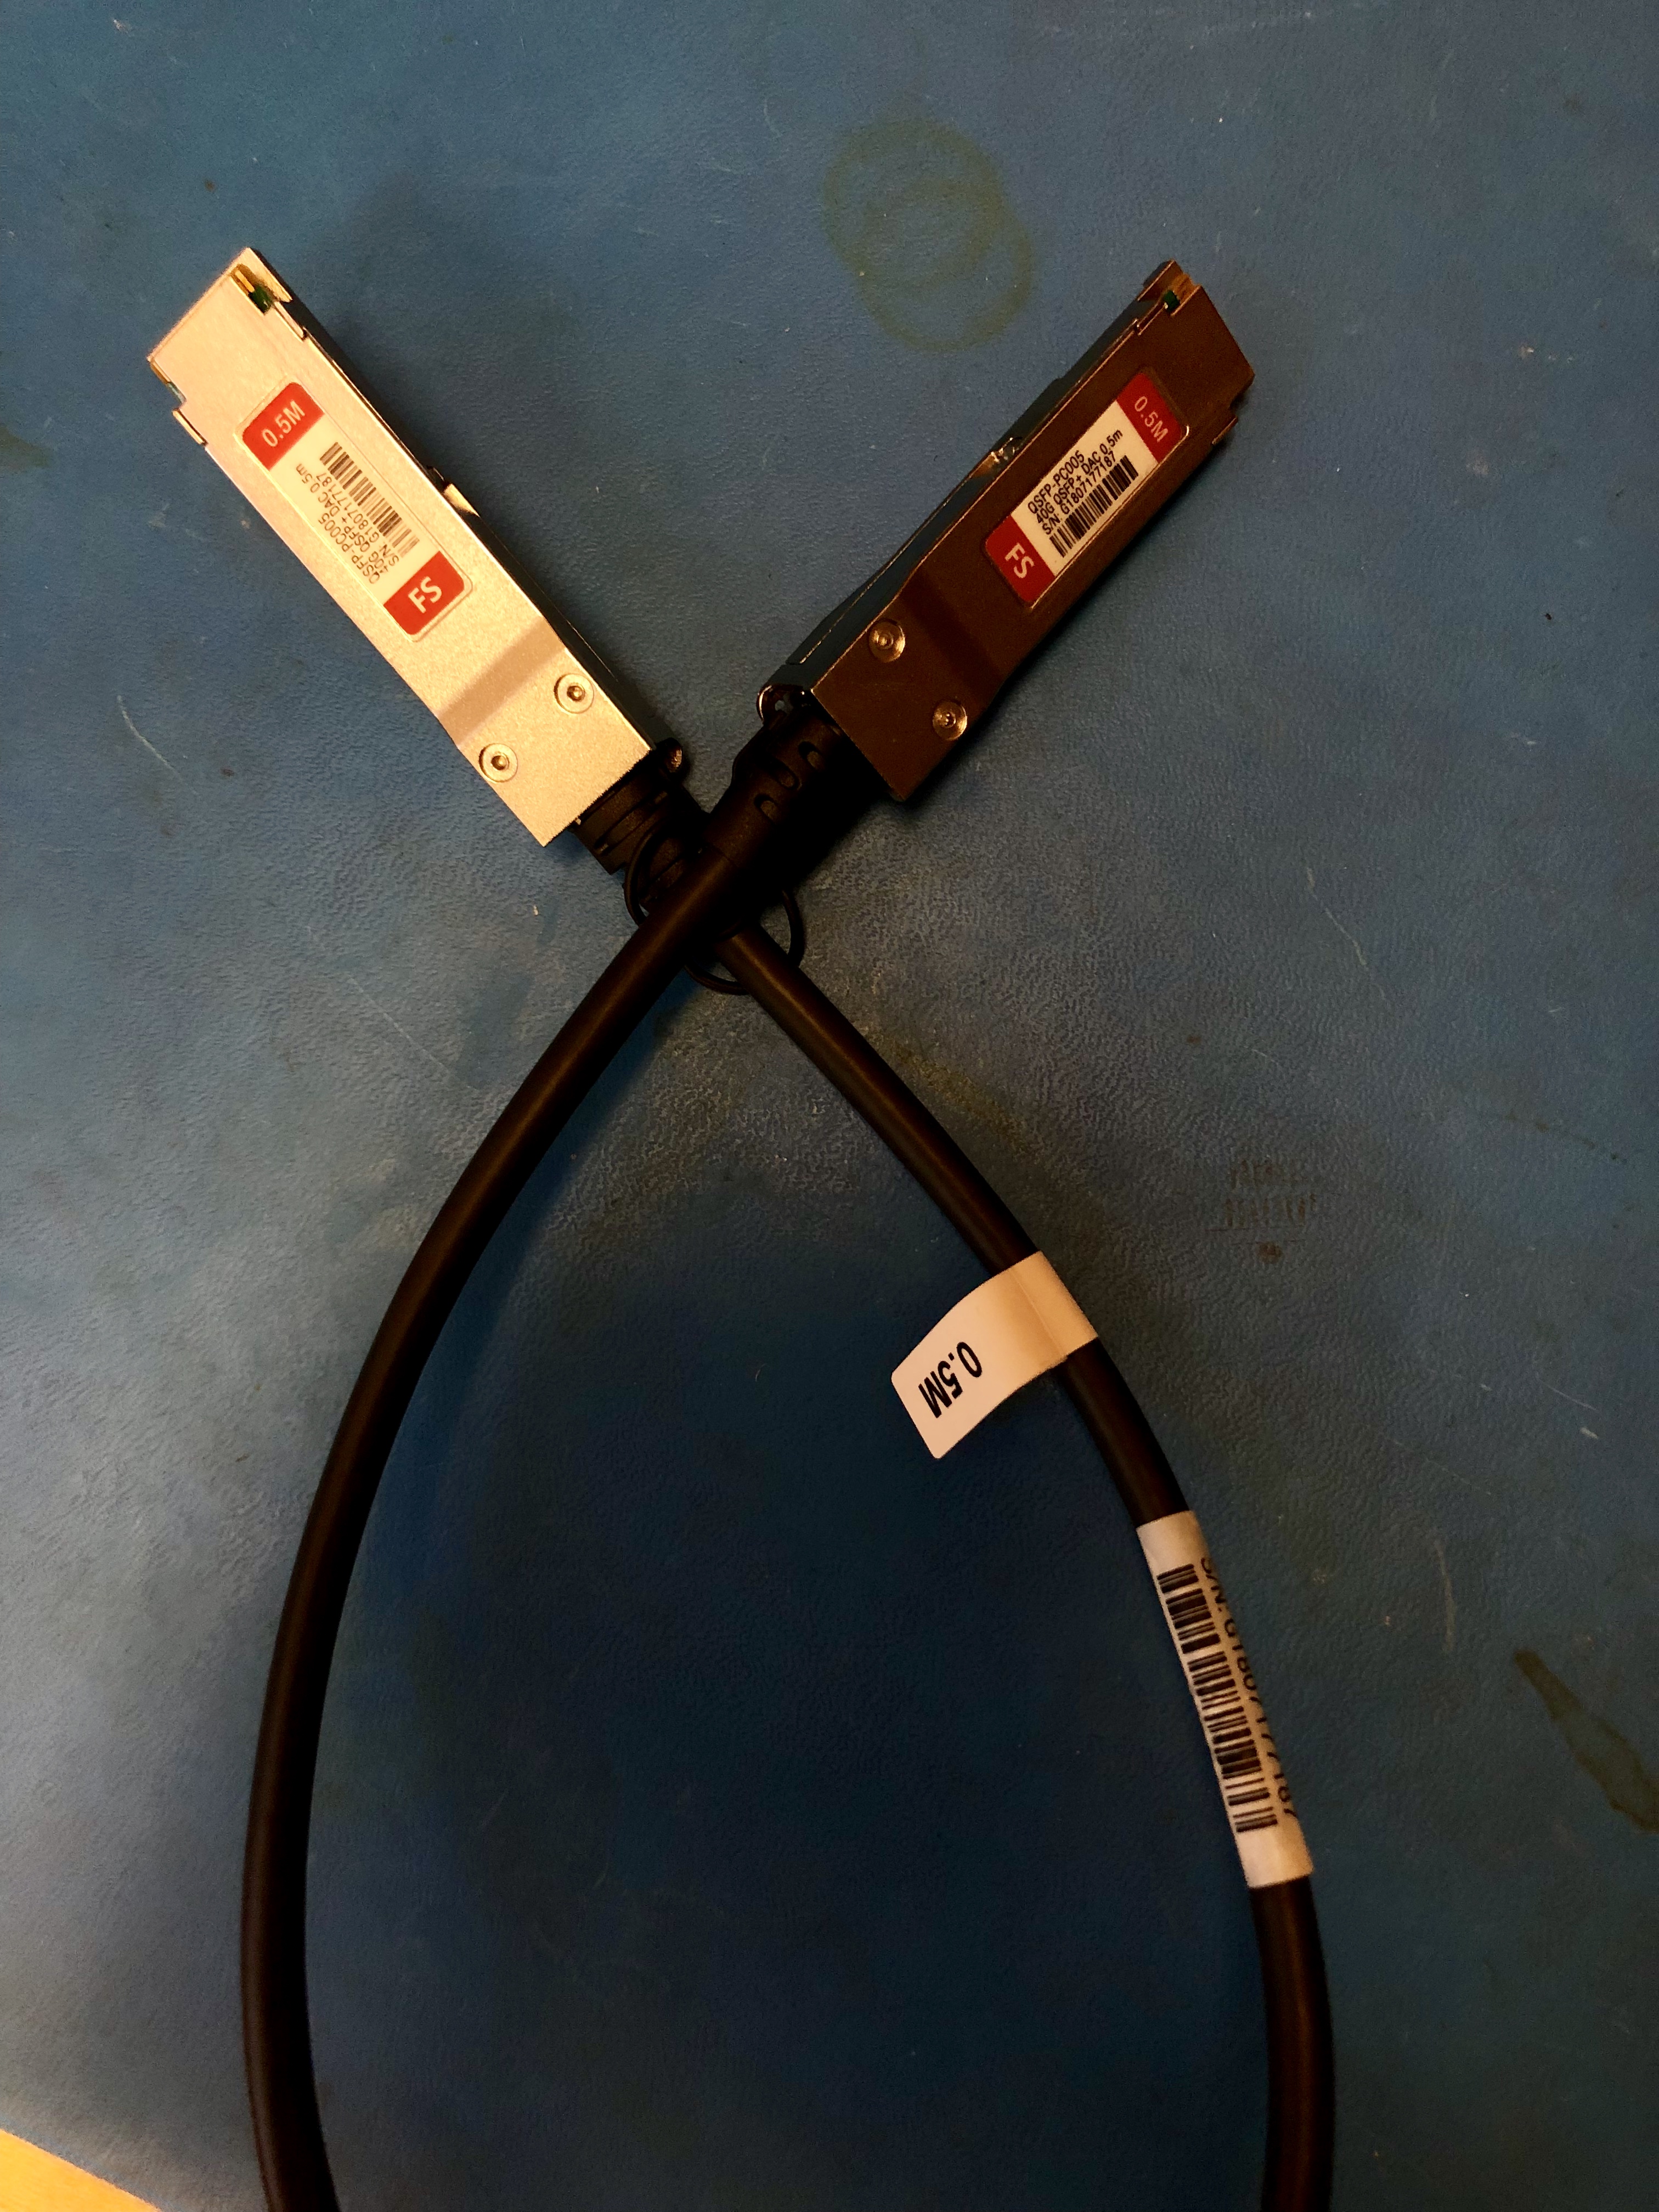
Optional Copper QSFP Cable

Optional PCIe to M.2 Adapter

FLI PCIe board

Fiber Optic Port on the Rear of a Kepler Camera

Operation
With the QSFP connection, there will be a noticeable increase in frame rate
when taking multiple of continuous grabs. Additionally, three new options under
Frame Count in the Grab Control Panel will be available: Stream - Single,
Stream - Multiple, and Stream - Continuous. These additional modes direct
FLI to dump all incoming image data directly to disk, bypassing the traditional
path through software where the image type is converted, and the image is
displayed in pilot prior to saving. Capturing images as a stream increases the
rate of frame capture dramatically, at the disadvantage of not being able to see
the images displayed as they are captured in FLI.
A stream will not capture if a file path is not defined under Stream in the
Imaging Parameters panel. The file path defined under File will not affect
where files are saved when a stream mode is being used.
Setup
1. Install the required products to have the FLI PCIe board and M.2 memory installed.
2. Install FLI Pilot onto the computer.
3. Run a QSFP cable from the computer to the Fiber Optic port on the rear of the Kepler camera.
4. Launch FLI Pilot and confirm that a connection is made and everything is operational.
Troubleshooting
In the case where the computer does not recognize the M.2 SSD, soft reboot the computer by clicking Restart
under Power in the Windows 10 taskbar. If this does not resolve the problem, check the M.2 SSD's included
documentation for any specific information regarding its installation and operation.
Minimum Requirements
Windows 10 x86 or x64
FLI Pilot v1.2.19 or later
7th gen i7 Core CPU
Motherboard with either {1 M.2 port and 1 PCIe port} or {2 PCIe ports}
1 PCIe to M.2 adapter (only required if the motherboard does not have an M.2 port)
250GB M.2 memory
FLI QSFP PCIe board
QSFP fiber optic cable or copper QSFP cable (for testing)
32GB of DDR3 or DDR4 RAM
